Product photography and listings that sell: a practical guide for small shops
How to photograph products and write listings that convert: a shot list, simple lighting and equipment, Google image rules, how to write titles and descriptions, and a pre-publish checklist for small online stores.
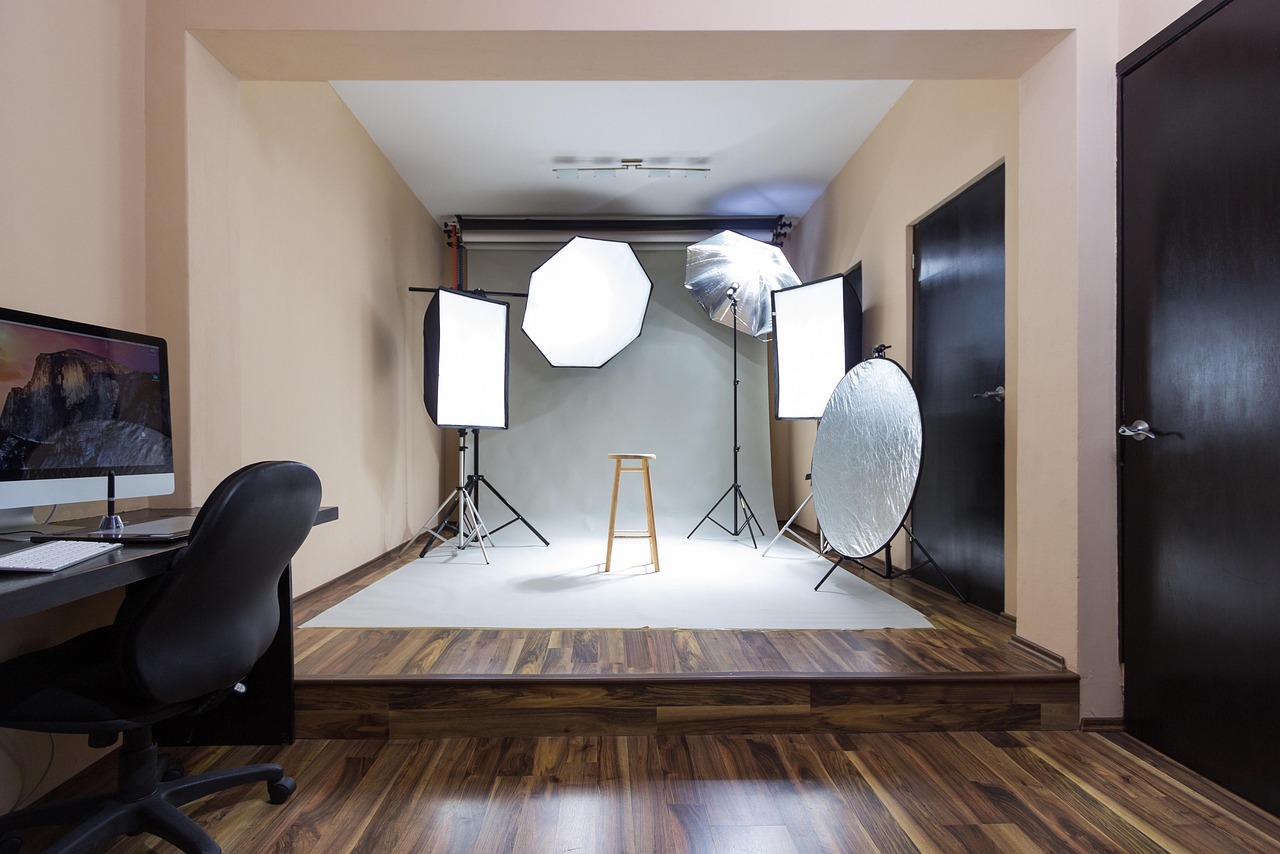
A shopper in an online store cannot pick the item up, turn it over or hold it against their arm. Your photos and your words have to do all of that for them. When they do it well, customers buy with confidence and send fewer "is this what I thought it was?" returns. When they do it badly, shoppers leave, or worse, buy and feel misled.
You do not need a studio or a big budget to get this right. This guide covers the photos to take, the technical rules worth knowing (including Google's image requirements), how to write titles and descriptions that answer real questions, and a checklist to run before you publish a listing. It is general business guidance, and the examples are for physical products sold online.
Why images matter more than most owners expect
Research from the Baymard Institute, which studies e-commerce usability, found that 56% of users' first action on a product page is to explore the product images. The same research reported that 25% of the e-commerce sites it benchmarked offered images too limited for proper visual exploration, 14% had low-resolution images, and 11% did not let users zoom far enough. Baymard also noted that grainy, pixelated zoomed images can be almost worse than having none, because they disappoint a shopper who expected detail, and that disappointment can spill over onto the whole brand.
The practical lesson is simple. Most of your competitors are not doing this well, so decent photography is one of the cheapest ways to stand out.
Step 1: Plan the shot list before you pick up the camera
Think about what a customer would ask if they were standing in your shop. Then make sure every question has a picture that answers it.
| Shot | What it answers | Notes | |---|---|---| | Main image | What exactly is this? | Clean background, whole product visible, no props that could be mistaken for part of the sale | | Alternate angles | Back, side, underside | Show anything a shopper would turn the item over to check | | Detail close-ups | Material, stitching, finish, label | These are the images people zoom into | | In-scale shot | How big is it really? | Next to a hand, a coin or a common object, or with a ruler | | In-use or lifestyle | How does it look in real life? | Helps imagination, but keep it after the clean shots | | Packaging or contents | What arrives? | Prevents "I thought it came with..." complaints |
Baymard's recommendations point the same way: provide several high-quality images per product, include varied types such as accessories, scale shots and images with legible descriptive text, and make sure shoppers can easily find them. If your catalogue is large, start with your best sellers, since that is where better images pay back first.
Step 2: Take good photos with simple equipment
Light and background
Soft, even light beats a flash. A window with indirect daylight, a sheet of white card to bounce light into the shadows, and a plain white or light grey backdrop produce a clean look at almost no cost. Avoid mixing daylight with indoor bulbs, which tints colours differently across the image.
Camera and steadiness
A recent phone is enough. Use a small tripod or a stack of books so the camera is steady and every product is photographed from the same height and distance. Consistency across the catalogue makes a store look professional.
Colour accuracy
Returns often start with "the colour looked different". Check your photos against the real item on a normal screen, and mention in the description if colour can vary slightly by monitor.
Step 3: Meet the technical rules
If you plan to list products in Google Shopping through Merchant Center, the platform has specific requirements worth following even if you never advertise, because they describe good practice:
- Size. Google's image requirements set a minimum of 500 x 500 pixels (applied to all products from 31 January 2027) and recommend about 1,500 x 1,500 pixels or larger. Files must stay under 16 MB.
- Formats. JPEG, WebP, PNG, GIF, BMP and TIFF are supported, and the file extension must match the real format.
- Framing. The product should fill roughly 75 to 90% of the image.
- Not allowed. Promotional overlays such as prices, calls to action or shipping claims, watermarks, added logos, borders, placeholder images like "coming soon", and images that do not show the actual product.
Even outside Google, these are sensible rules. Overlays and watermarks look cheap, and a product that fills the frame is easier to see on a small phone screen.
Speed matters too
Large files slow your pages, and slow pages lose shoppers. Export images at the size you need, compress them, and use descriptive file names such as blue-ceramic-mug-front.jpg rather than IMG_2043.jpg. Add alt text describing what the image shows, which helps accessibility and search. Our SEO basics guide explains why.
Step 4: Write listings that answer questions
Titles
Lead with what the product is, followed by the details people search for: type, material, size or colour, brand if it helps. "Blue ceramic coffee mug, 350 ml, dishwasher safe" is more useful than a clever name alone.
Descriptions
Open with one or two plain sentences saying what it is and who it suits. Then use short bullets for the facts people compare: dimensions, weight, materials, care instructions, what is included and compatibility. Add a short paragraph for the story or the use case. Write for a reader scanning on a phone.
Be accurate
Every claim should be true and provable. Do not call something "handmade" or "organic" unless it is. Overstating a product leads to returns, bad reviews and possible legal trouble. If you gather feedback later, read our guide to getting customer reviews ethically.
Price, stock and delivery information
State the price clearly, show whether the item is in stock, and give a realistic delivery estimate on the page. Link to your policies. Details on those are in shipping and returns policies for an online store.
Step 5: Keep it consistent as you grow
Create a short style guide: background colour, image dimensions, crop rules, naming pattern, and tone of voice for descriptions. Keep the original uncropped photos somewhere safe, because a future marketplace may want a different shape. If you sell on several channels, make sure the same photos and facts appear everywhere, and read how stock is shared in managing inventory across sales channels.
A quick pre-publish checklist
- Main image on a clean background, product fills most of the frame.
- At least three more images: angle, detail, scale.
- Images at least 1,500 pixels on the long side where possible, compressed for the web.
- No watermark, price or promotional text on the images.
- Title says what the product is and includes the key details.
- Bullets list size, material, care and what is included.
- Colour description matches the photo.
- Price, stock status and delivery estimate visible.
- Alt text added to every image.
- Test the page on a phone and zoom in on the main photo.
Common mistakes
- One small photo per product. It leaves too many questions unanswered.
- Inconsistent backgrounds and sizes across the catalogue, which makes the shop look untidy.
- Photos that do not match the product. Colours, sizes or contents that differ from what arrives cause refunds.
- Heavy filters and heavy editing. Aim for true to life.
- Copying the supplier's description. It is the same text every other seller uses, and it may not match what you ship.
- Forgetting mobile. Check cropping and zoom on a phone, since Baymard notes that mobile images are often lower resolution, which makes zoom a weak point.
Where WorkBOS fits
WorkBOS does not host a store or edit photos, so you will keep using your store platform for those. It can help around the edges: a project with tasks for a photo day gives each product a status and an owner, the drives and office suite keep original images and shot lists in one shared place, and roles and permissions let a freelance photographer upload without seeing finances. See the docs for how these work, or pricing for plans. For a bigger picture of getting started, our online store checklist puts photography in context.
Frequently asked questions
Q: How many photos should a product listing have? A: There is no magic number. Aim to answer every question a shopper would ask: main view, alternate angles, a close-up detail, a scale shot and what is included. Baymard recommends several high-quality, varied images per product.
Q: What size should product images be? A: Google's Merchant Center guidance sets a 500 x 500 pixel minimum and recommends about 1,500 x 1,500 pixels or larger, with the product filling roughly 75 to 90% of the image.
Q: Do I need a white background? A: Not always, but a clean, plain main image is the safest choice and is the norm for shopping feeds. Lifestyle photos work well as additional images.
Q: Can I use manufacturer photos? A: Check the supplier's permission first, and note that the same images appear on many other stores. Your own photos show the real item you ship and can reduce mismatch complaints.
Q: Can I use a phone to shoot products? A: Yes. With steady support, soft window light and a plain backdrop, a modern phone camera is enough for most small shops.
Sources are linked in the text above: Baymard Institute, Google Merchant Center Help.
Run it all from one place
Projects, clients, finance, people and AI employees in one system. Start free, no card needed.
Start free →